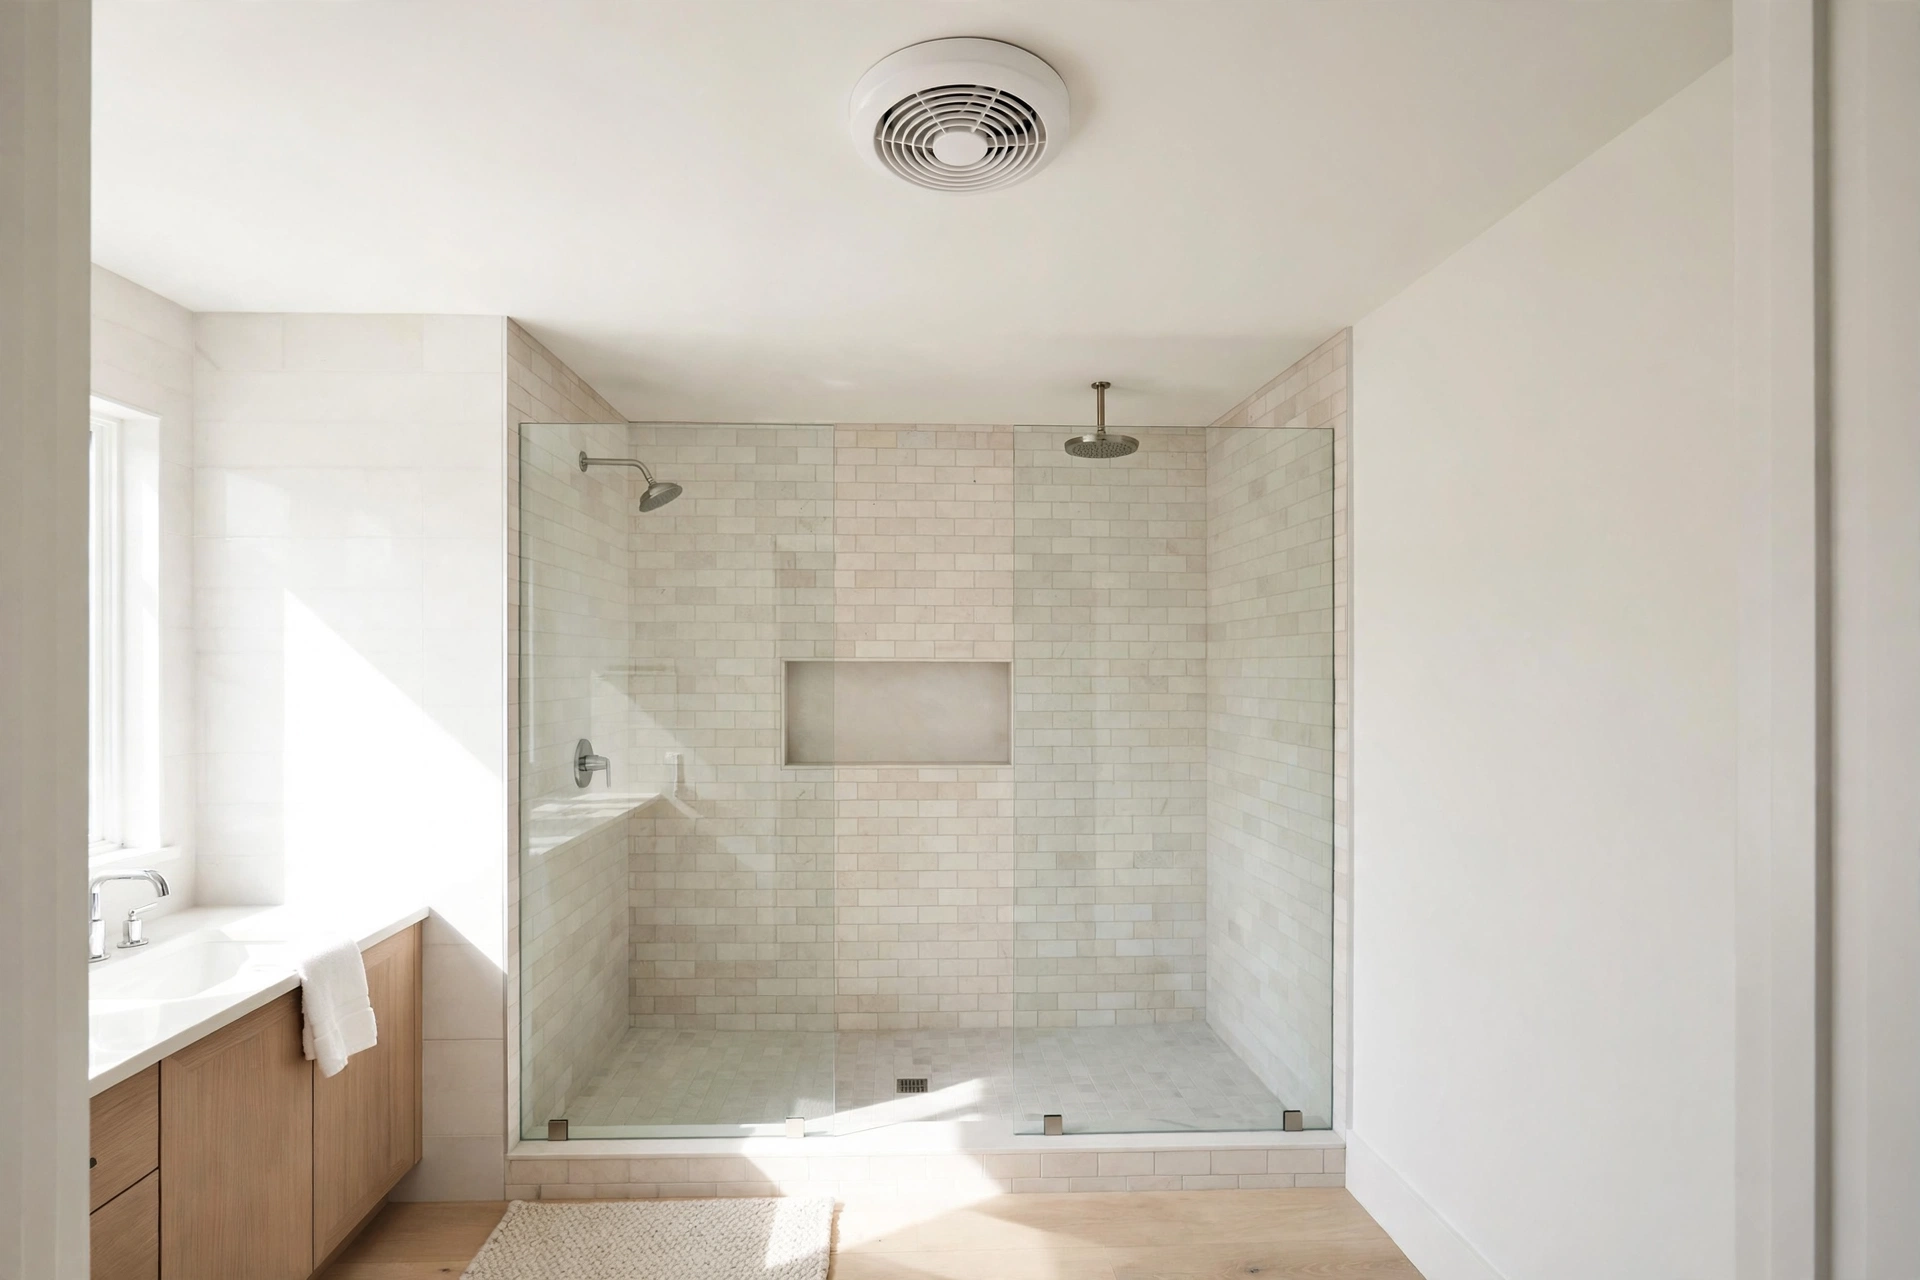
Bathroom Exhaust Fan Guide: Size, Placement & Code
Your bathroom exhaust fan is the hardest-working appliance in the room — and the one most homeowners think about the least. Every hot shower pumps gallons of moisture into the air, and in Kingsport’s humid summers that moisture hangs around long after you’ve stepped out. This bathroom exhaust fan size guide walks you through picking the right fan, putting it in the right spot, and keeping it on the right side of the building code.
Get it right and you won’t see foggy mirrors, peeling paint, musty smells, or mold creeping along the ceiling. Get it wrong and you’re fighting a losing battle against moisture — no matter how nice your tile is.
How to Size a Bathroom Exhaust Fan
The industry uses CFM (cubic feet per minute) to measure how much air a fan moves. Sizing it is simpler than most people expect, because the Home Ventilating Institute (HVI) publishes two clear rules of thumb:
Rule 1: Small bathrooms — 1 CFM per square foot. If your bathroom is under 100 square feet, measure the length times the width and match that number with CFM. A 6×8 bathroom is 48 square feet, so a 50 CFM fan does the job. A 8×10 bathroom is 80 square feet, so go with 80 CFM.
Rule 2: Larger bathrooms — 50 CFM per fixture. For bathrooms over 100 square feet, count up the toilet, shower, and tub (50 CFM each) and add 100 CFM if you have a jetted or whirlpool tub. So a master bath with a toilet, shower, and standard tub needs roughly 150 CFM.
A few honest caveats. Ceiling height matters — if your ceilings are taller than the standard 8 feet, or you have a very tall shower enclosure, bump up one size. And don’t overdo it: a massively oversized fan in a tiny bathroom wastes energy and can be loud. The goal is the right amount of air movement, not the most.
One more thing worth knowing: when you size the fan, you’re sizing the ductwork too. A long, bendy duct run strangles airflow, so the “right” 80 CFM fan on a bad duct can behave like a 40 CFM fan. We’ll come back to ductwork in a minute.
Where to Place a Bathroom Exhaust Fan
Placement matters almost as much as size. The fan should pull moist air away from where it’s produced, so:
Near the shower or tub is the sweet spot. Moisture is born there. A fan mounted in the ceiling directly over or just outside the shower area captures steam before it spreads through the room.
Center of the room works for shared bathrooms. If the fan has to serve the whole room, a central ceiling position gives the most even airflow.
Not directly over the door. A fan by the doorway just pulls air from the hallway and short-circuits the exhaust — the moist air stays put.
Keep it away from the supply vent. If your HVAC supply register is near the fan, the incoming air blows right back out. Separate them as much as the room allows.
Also check your ceiling before you buy: joists, recessed lights, and plumbing vents all compete for the same ceiling space. A remodel is the ideal time to reposition a poorly placed fan, since the ceiling is already open.
Bathroom Exhaust Fan Code Requirements
Building code treats bathroom ventilation as a health and moisture-control issue, not a nice-to-have. Here’s what the International Residential Code (IRC) — the baseline most US jurisdictions, including Tennessee, work from — requires:
Vented to the outdoors. The fan must exhaust outside the building — through the roof, a gable wall, or an exterior wall. Venting into the attic is not allowed. An attic full of moist air is a mold farm waiting to happen.
Minimum capacity. The IRC calls for at least 50 CFM for an intermittent (switch-operated) fan, or 20 CFM for a continuously running fan. Most local codes adopt these minimums, and good practice goes higher using the sizing rules above.
Humidity control. Some jurisdictions require fans with humidity sensors or timer switches so they keep running after you leave. Even where it’s not required, it’s smart — most people turn the fan off too early.
A quick honesty note: code is a minimum, not a recommendation. The code will tell you 50 CFM is legal for your powder room; the sizing guide above will tell you whether 50 CFM actually clears the steam. Follow both, but size for performance, not just compliance. And always check with your local building department or contractor for any Kingsport-specific amendments before a remodel.
Ductwork: The Part Everyone Forgets
Here’s a stat that surprises people: a great fan on bad ductwork performs like a mediocre fan. The duct is half the system.
Rigid metal duct beats flexible duct. Corrugated flex duct creates turbulence and collects condensation in the valleys. Smooth rigid duct moves air farther with less noise.
Keep runs short and straight. Every bend costs airflow. Plan the shortest reasonable path to the nearest exterior wall or roof.
Terminate it properly outside. The duct needs a dedicated vent cap with a backdraft damper on the exterior of the house — not a shared dryer vent, and never just ending in the attic or soffit.
Insulate ducts through unconditioned spaces. A warm, moist duct running through a cold attic condenses inside. Insulated duct or an insulated sleeve keeps the moisture moving out instead of dripping back in.
If your current fan is weak and the unit itself looks fine, the duct is the first suspect. We’ve seen “broken” fans that were actually fine — choked by a crushed flex run or a damper glued shut with lint.
Noise, Humidity Sensors & Features Worth Paying For
Fans are rated in sones — lower is quieter. Here’s how to read the scale:
Under 1.0 sones: whisper-quiet. You can hold a conversation or take a work call next to it. Worth the premium for a primary bathroom.
1.0–2.0 sones: noticeable but not annoying. Fine for a guest bath.
Over 2.5 sones: the jet-engine fans most of us grew up with. They work, but nobody wants to leave them running — which defeats the purpose.
Two features are worth real money. A humidity-sensing fan turns itself on when moisture spikes and off when the air dries out — no more relying on memory. A timer or delay-off switch lets the fan run 20–30 minutes after you leave the bathroom, which is roughly how long it takes to clear a shower’s worth of moisture. Combo fan-light units also save a ceiling hole, though the light and fan should ideally be on separate switches.
What a Bathroom Exhaust Fan Costs in Kingsport
Ballpark, honest numbers:
The fan itself: $30–$150 for a quality unit, depending on CFM, sones rating, and features like humidity sensing.
Simple replacement install: $150–$300 when a new fan goes into an existing housing or duct run.
New install or relocation: $300–$600, since it involves cutting the ceiling, running ductwork to the exterior, and possibly new wiring.
These are typical ranges, not quotes — your ceiling access, duct path, and electrical situation all move the needle. Fans are often upgraded as part of a larger remodel; if you’re already opening the ceiling for tile or plumbing work, moving a poorly placed fan adds far less cost than doing it as a standalone job. Our breakdown of bathroom remodel cost in Kingsport shows where ventilation upgrades fit into a typical project budget.
Why Ventilation Deserves a Line in Your Remodel Plan
Most remodel plans obsess over tile, fixtures, and finishes — and treat the exhaust fan as an afterthought. But moisture is what destroys bathrooms: it rots framing, feeds mold behind tile, and shortens the life of paint, grout, and drywall. A correctly sized, properly ducted fan protects everything else you’re paying for in the remodel. If you’re retiling a shower, check out our guide to bathroom tile installation cost in Kingsport — and while the walls are open, that’s the perfect time to fix the ventilation too.
If your current fan is loud, weak, or missing entirely — or if your mirrors stay fogged long after your shower — the fan is the problem, not the bathroom. We install and relocate exhaust fans as part of our walk-in shower installation in Kingsport and full remodel projects, sizing the fan and ductwork to the room instead of guessing.
Call (831) 666-1180 or get in touch through our contact page for a free consultation. We’ll look at your bathroom’s size, layout, and existing ventilation, and tell you exactly what fan it needs — sized to the room, placed where it works, and vented the way the code requires.
For bathrooms under 100 square feet, use 1 CFM per square foot of floor area (a 6×8 bath = 48 sq ft = 50 CFM fan). For larger bathrooms, allow 50 CFM per toilet, shower, and tub, plus 100 CFM for a jetted tub. If your ceilings are taller than 8 feet, go one size up.
Yes. The International Residential Code requires bathroom exhaust to terminate outside the building — through the roof, a gable wall, or an exterior wall — never into the attic or soffit. Venting into the attic dumps warm, moist air into an unconditioned space, which is a recipe for mold.
About 20-30 minutes. That’s roughly how long it takes to clear a shower’s worth of moisture from the air. A timer switch or humidity-sensing fan handles this automatically, so you don’t have to remember — most people who rely on memory turn the fan off far too early.
A straight swap of an existing fan into the same housing is a reasonable DIY project if you’re comfortable with basic wiring and the breaker stays off. Running new ductwork to the exterior or adding a new circuit is electrician-and-roofer territory — and if the ceiling is already open for a remodel, it’s the cheapest time to have a pro do it right.